
AI + Night-Vision Camera Solution
1. Overview
AI + Night-Vision Camera Solution (Evaluation Board / Kit)
Key feature of this solution: high image quality in dark environments
- Low power consumption
- Stable long-duration RTSP streaming
- AI demo preinstalled (Ready to use)
Use Cases
- [Care facilities] Monitoring and fall detection
- [Hotels and lodging facilities] Security and service improvement
- [Offices and public spaces] AI-based detection and analysis
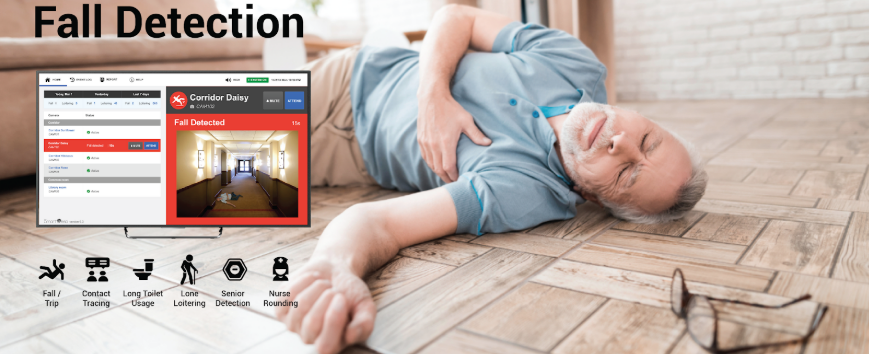
Fall detection in care facilities
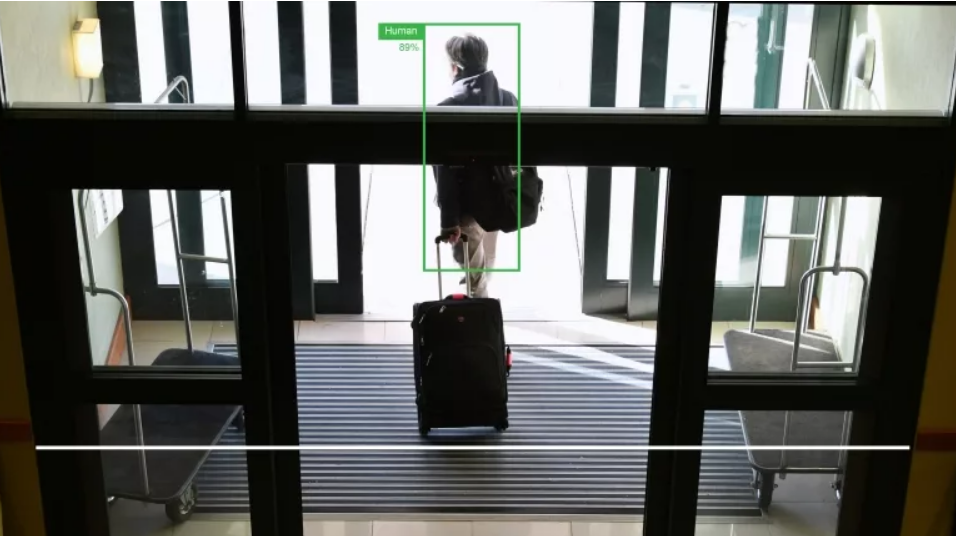
Security monitoring for hotels and lodging facilities
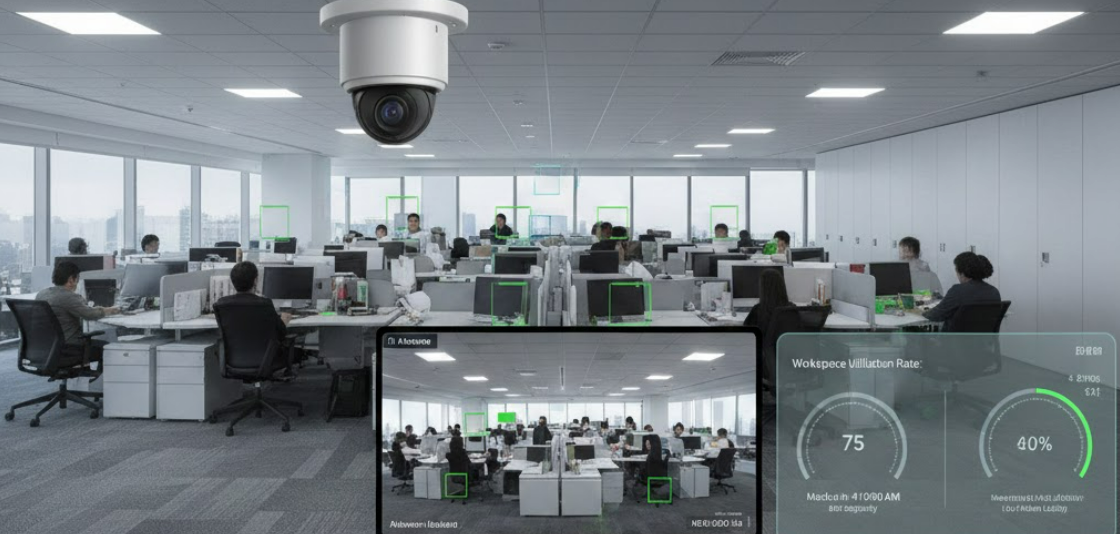
AI detection and analysis in offices and public spaces
2. Target Users
- Personal DIY and AI learning
- School experiments, education, and training
- Enterprise PoC (proof of concept) and engineering evaluation
3. Applications
3.1 Indoor Monitoring in Low-Light Environments
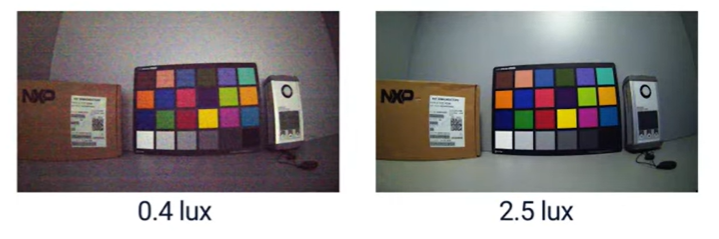
Indoor monitoring comparison in low-light environments
3.2 Night Shooting
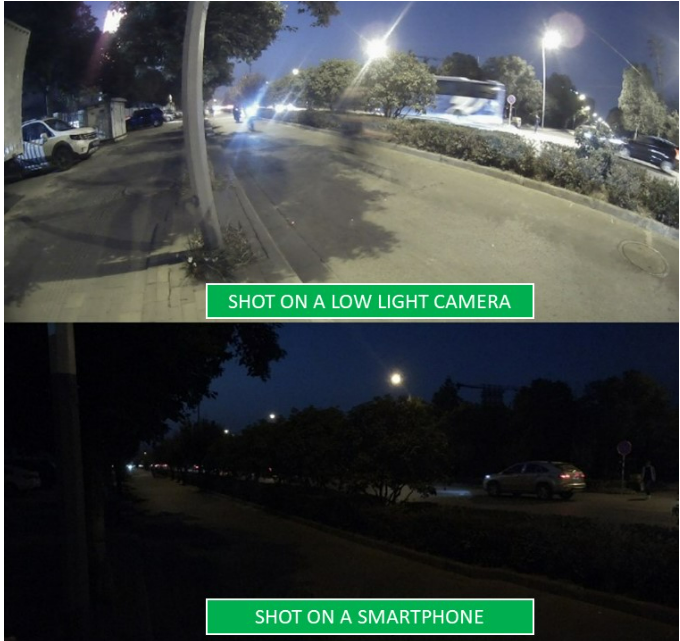
Night shooting comparison
3.3 AI Recognition (Object Detection and Behavior Analysis)
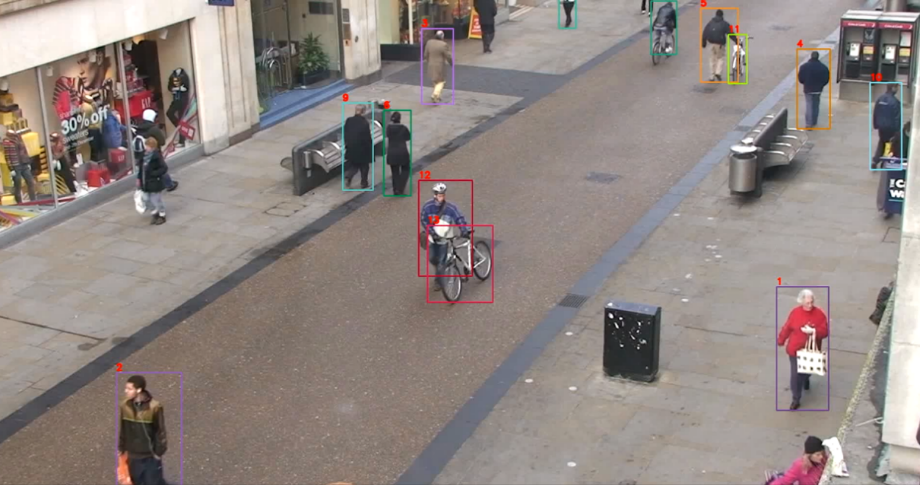
AI recognition object detection and behavior analysis
4. Selecting an Alternative
▶ Entry Test: IMX415 + USB UVC
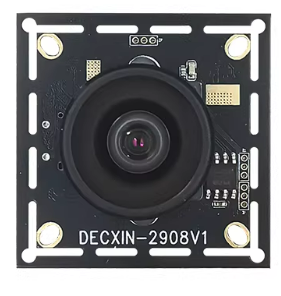
IMX415 USB UVC camera
▶ Stable System: RV1126 + IMX415 MIPI
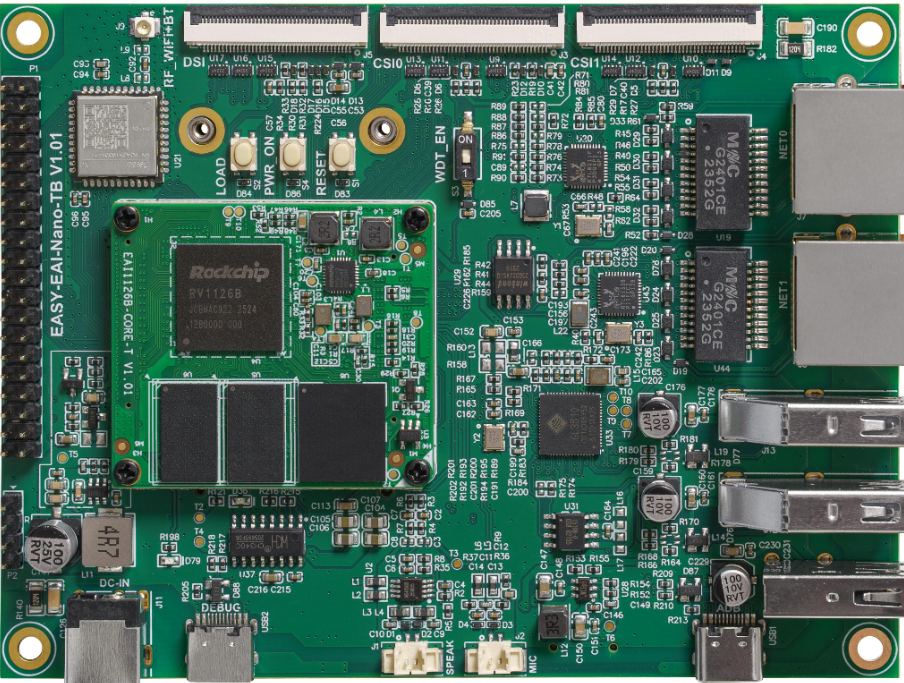
RV1126 IMX415 MIPI evaluation board
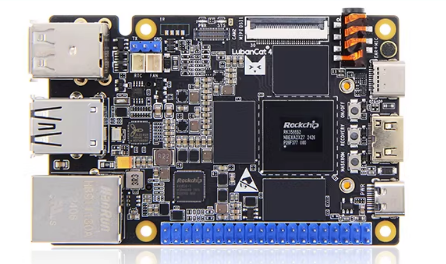
▶ Performance Upgrade: RK3588S + IMX415 MIPI
5. Quick Start Guide
💡 Note : On this evaluation board, parameters such as image size and white balance cannot be easily changed with commands. After modifying the sample program, recompilation is required. For details, please refer to the development manual. If you want to evaluate the camera after changing parameters, please purchase the “USB UVC Evaluation Kit” first and perform the evaluation with it.
Step 1: Hardware Connection
- Power on: connect power to the evaluation board.
- MIPI connection: connect the camera.
- Network connection: connect the evaluation board LAN port to the router.
- PC connection: connect the evaluation board to the PC using a USB cable.
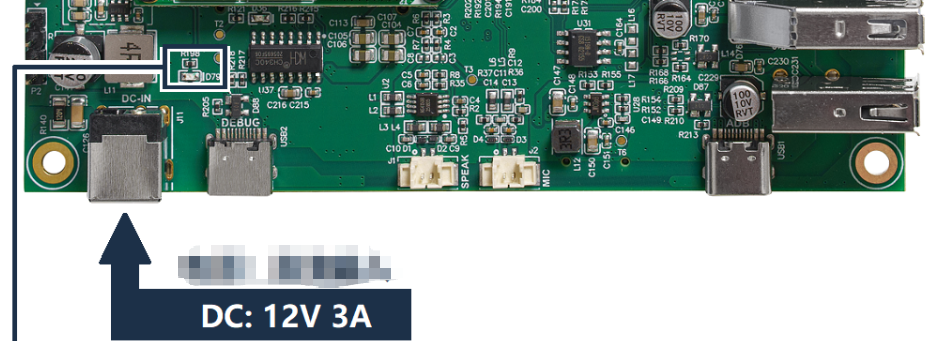
Evaluation board power connection
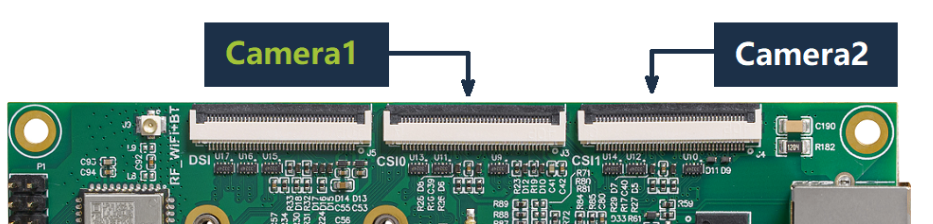
MIPI camera connection position
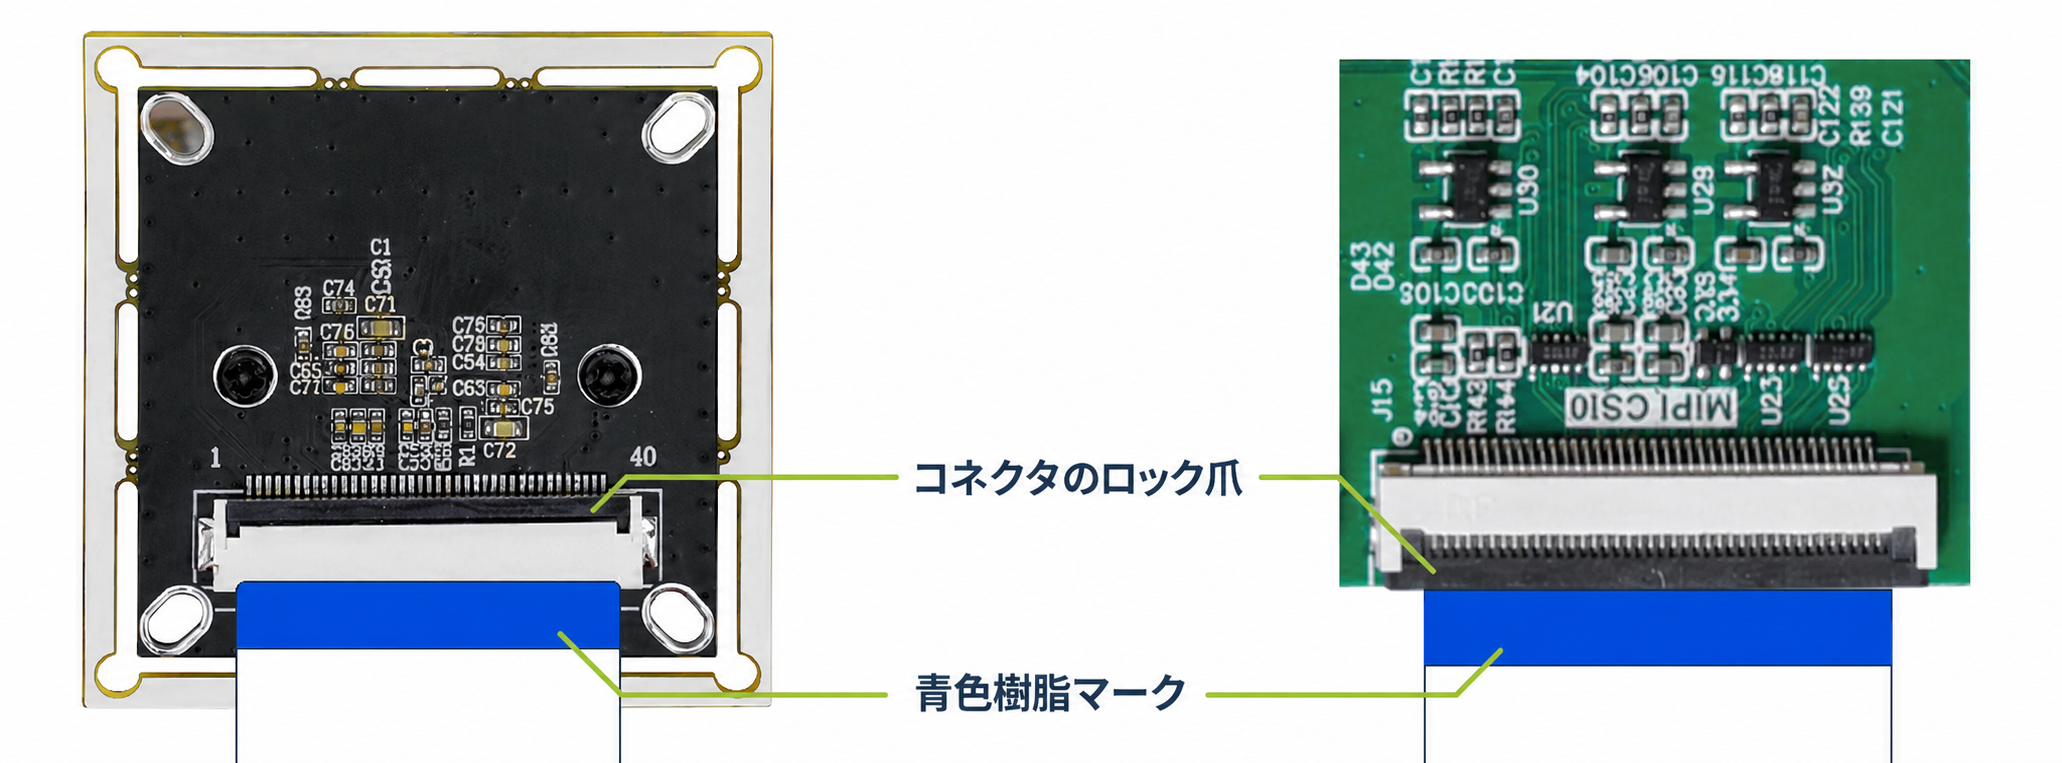
FPC cable connection direction
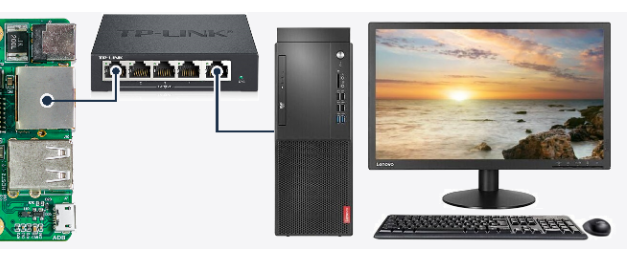
LAN network connection
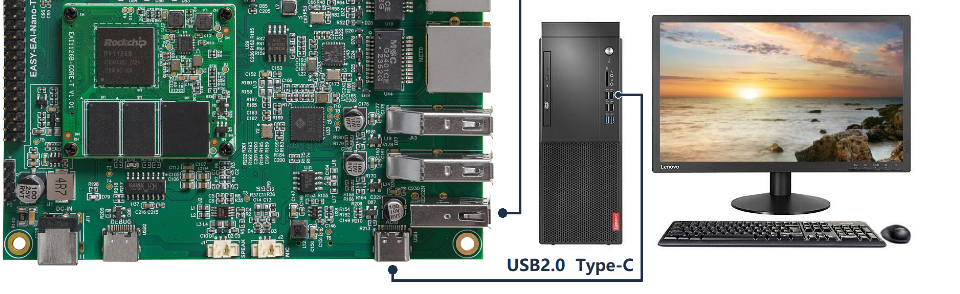
USB Type-C PC connection
Note: Insert the FPC cable with the blue side facing upward.
Step 2: Command Operation
- On the PC, press the “WIN+R” keys at the same time, enter “CMD”, and run it.
- Enter the following command to access the evaluation board.
adb shell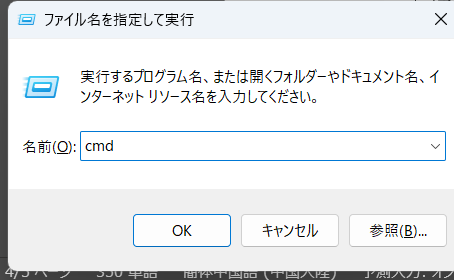
Start Windows CMD
Step 3: Deploy and Run the File
First, create a file named gst_test.sdp.
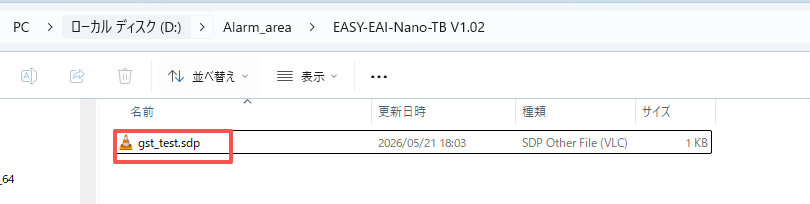
Create the gst_test sdp file
Open this file in a text editor (such as Notepad), and add the following content.
Note: Change both IP addresses to the IP address of the user’s PC.
v=0o=- 0 0 IN IP4 192.168.10.111s=H.264 Stream from RV1126c=IN IP4 192.168.10.111t=0 0m=video 8554 RTP/AVP 96a=rtpmap:96 H264/90000Use the adb shell command to log in to the [development board environment], and enter the following command.
Note: Change the IP address in the command to the IP address of the user’s PC. This encodes the video from the video node and streams it to VLC on the PC via UDP.
gst-launch-1.0 v4l2src device=/dev/video23 ! video/x-raw,framerate=30/1 ! mpph264enc ! h264parse ! rtph264pay config-interval=1 ! queue max-size-buffers=100 leaky=downstream ! udpsink host=192.168.10.111 port=8554 sync=falseThe execution result (operation) is as follows:
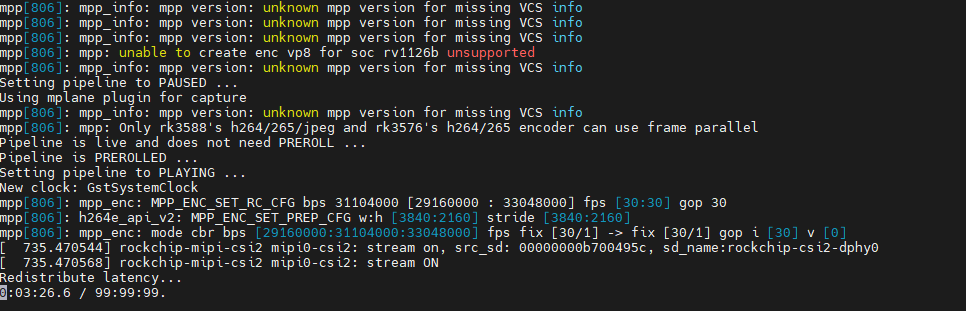
UDP streaming execution result
Step 4: Check the Video
- Open VLC Player, and open the created file in VLC media player.
- Select and open
gst_test.sdp, and check the video.
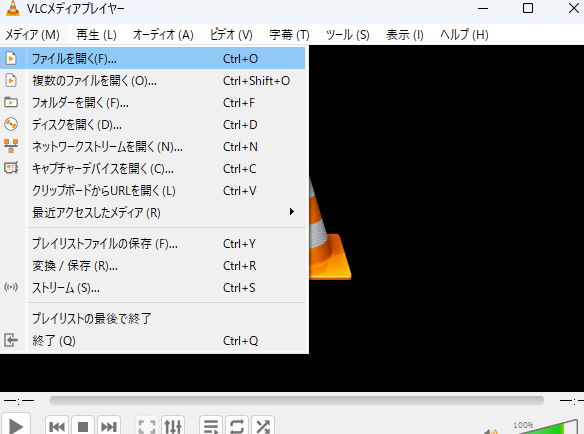
Open a file in VLC
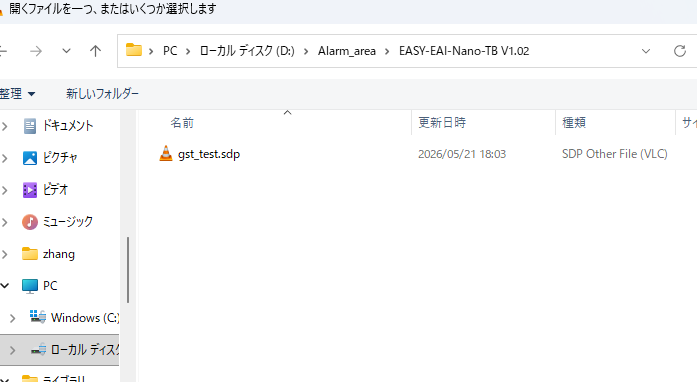
Select the sdp file in VLC
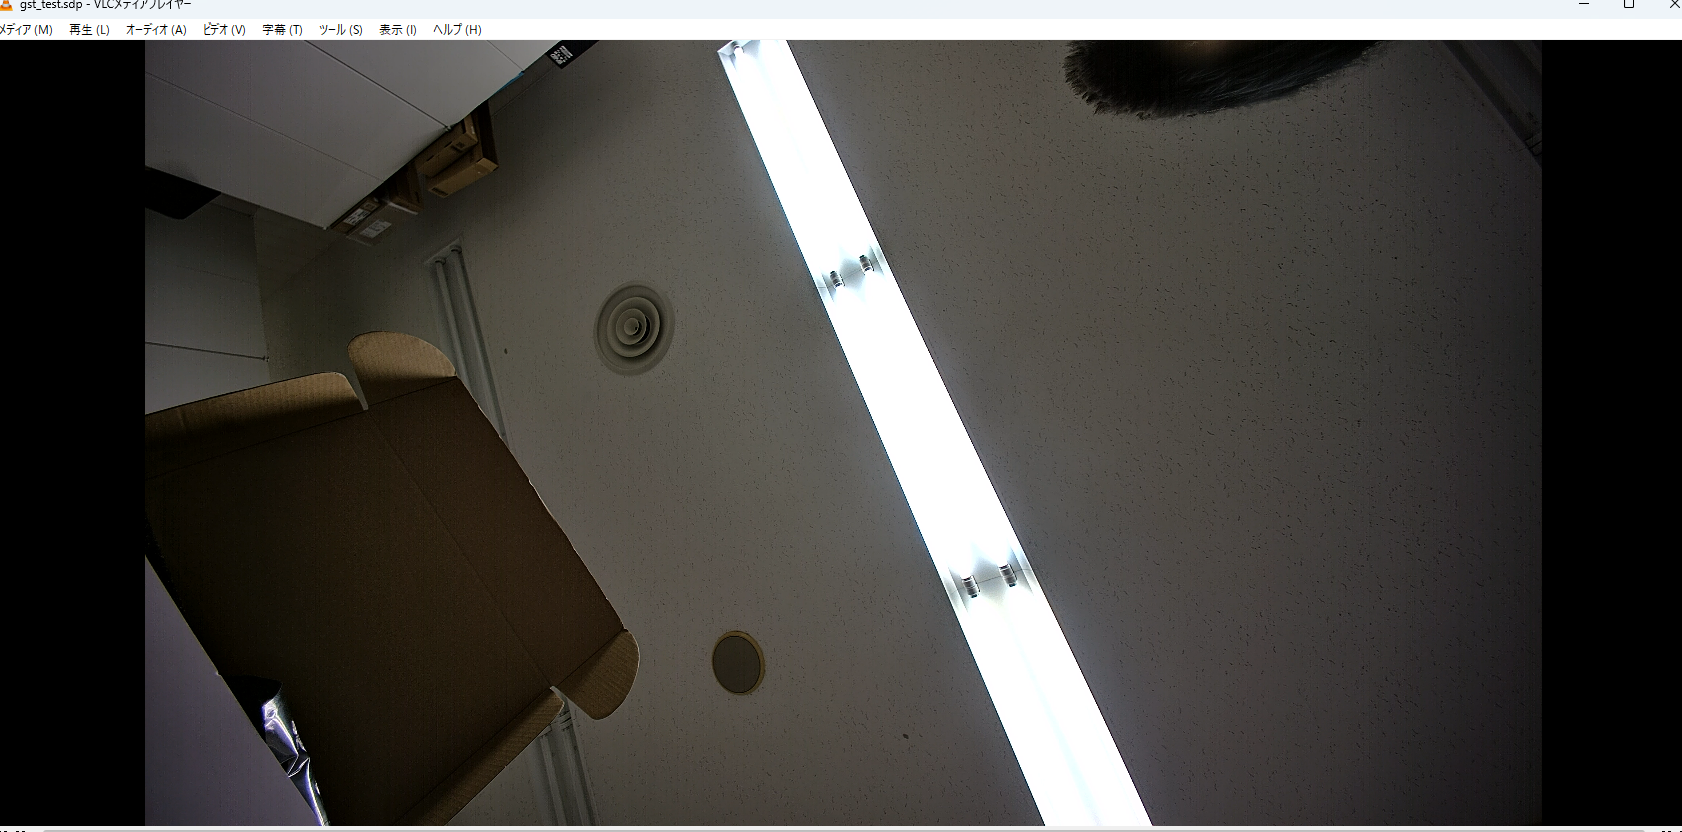
VLC video display result
6. Parameter Comparison
| Item | Power-Saving and Stable (RV1126) | High-Performance and Expandable (RK3588S) | Remarks |
|---|---|---|---|
| Night-vision function | Available | Available | |
| Interface | UARTx2 CAN I2C USB2.0 USB3.0x2 PWMx2 SPIx2 GPIOx3 | USB2.0x3 USB3.0x2 RS485×2 RS232×2 CAN×2 Mini PCIE | |
| CPU | 4×ARM Cortex-A53@1.6GHz | 4×A76 + 4×A55 | |
| ISP | 12M ISP + 8M AI-ISP | 48MP (2x 24MP) ISP with HDR and 3D NR | |
| MIPI CSI | 2x4 lanes,2.5Gbps/Lane | 3x4 lanes,2.5Gbps/Lane | |
| Maximum power consumption | 5W | 10W | |
| AI computing capability | 3Tops | 6Tops | |
| WIFI | 2.4GHz | 2.4GHz/5GHz | |
| Bluetooth | 4.0 | 4.2 | |
| Dimensions | 120mm×90mm | 56mm×85mm | |
| Supported OS / SDK (latest) | Ubuntu-22.04 | Debian12-Kernel-6.1,Android14,Ubuntu-24.04 | Image files provided |
| Provided content | RTSP, AI demo, documents, source code (binary) | RTSP, AI demo, documents, source code (binary) |
7. Frequently Asked Questions (FAQ)
Q: Can it be used with Raspberry Pi?
A: IMX415 modules / USB UVC cameras for Raspberry Pi are also available separately (these are different products from this evaluation board).
Q: Is long-time continuous operation possible?
A: Yes, it is possible.
Q: Is AI-based behavior recognition possible?
A: Yes, Resnet50, Yolov5, Yolov8, Yolov11, and others are supported. The following AI recognition demos are available. The types of demo models provided may be updated.
- Face recognition (face authentication)
- OCR recognition (text recognition)
- Flame detection
- Voice recognition
- Gesture recognition
- Human body detection (person identification)
- Vehicle identification
- License plate identification
Q: About certification and testing
A: EMC test: passed
A: Acquired certifications: FCC certification, CE certification
8. Kit Lineup
8.1 Evaluation Kit: RTSP + Complete Document Set (Recommended)
Camera + main board + documents
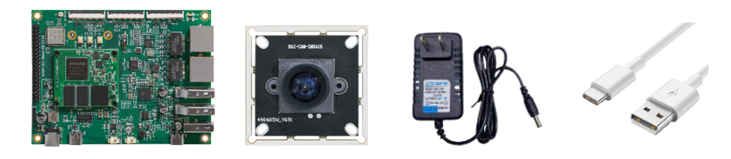
Evaluation kit
8.2 Development Kit: Mounting / Display / Pre-Mass-Production Verification (For Corporate Users)
Camera + AI main board + mounting bracket + display
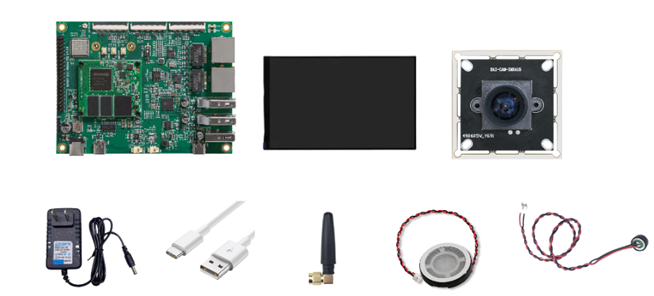
Development kit