
VMware, Ubuntu, and USB Environment Setup
1 Setting Up the VMware Environment
1.1 VMware Virtual Machine
Official website URL: https://www.vmware.com/cn.html
The layout of the official VMware website may change over time. The current webpage index used by the author is as follows.
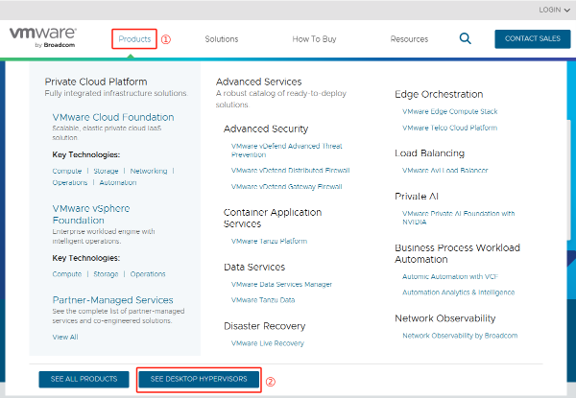
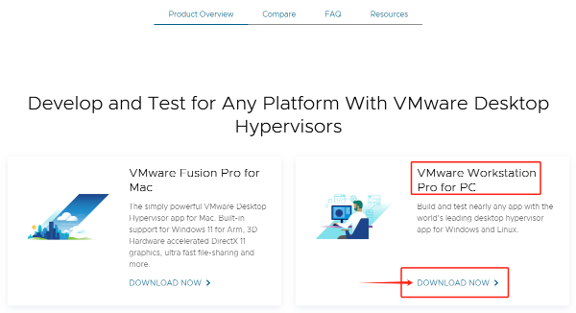
After that, you need to register a Broadcom account using your email address and enter information such as your address and postal code to download VMware-related software.
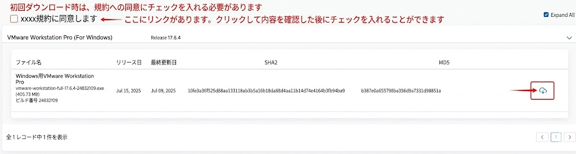
1.2 Installing VMware
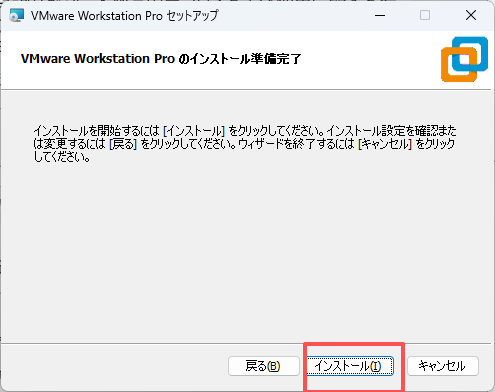
Click the downloaded .exe software to start the installation.
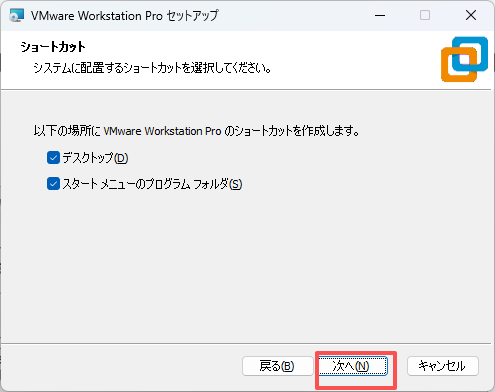
Simply follow the prompts and click “Next”.
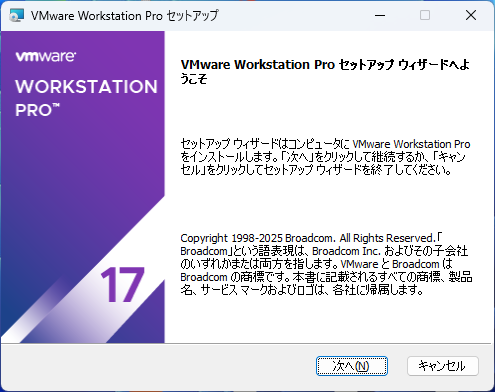
Installing VMware
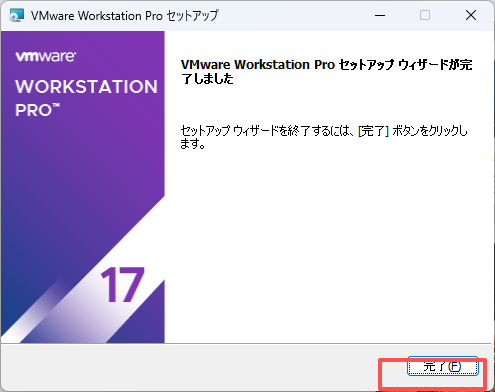
After the installation is complete, click “Finish”.
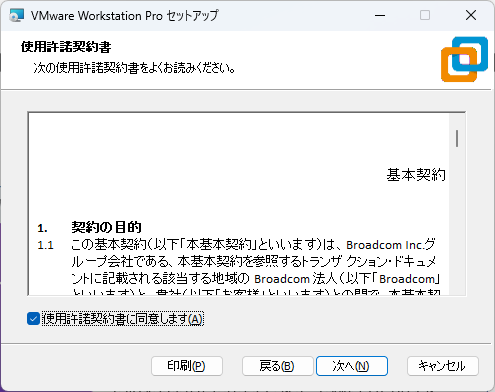
Installing VMware
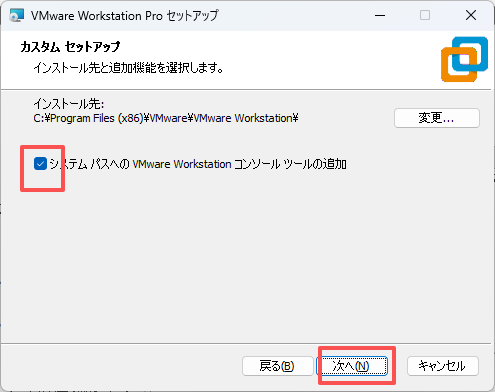
Installing VMware
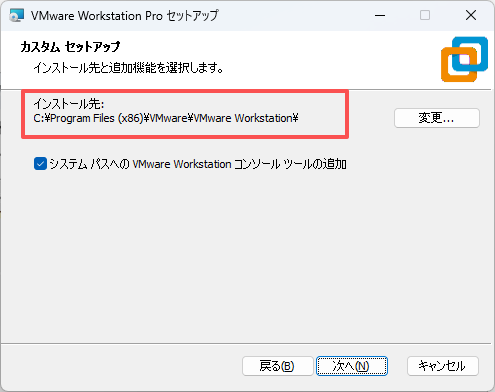
Installing VMware
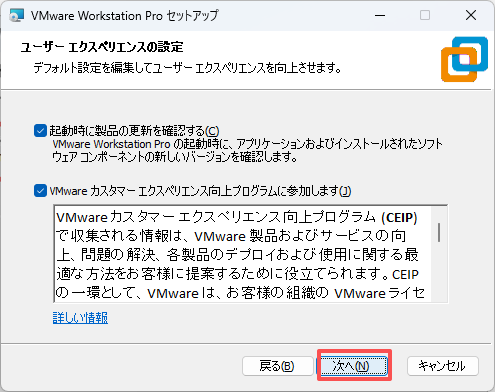
Installing VMware
Installing VMware
Installing VMware
Installing VMware
1.3 Starting VMware
After opening VMware, it will be displayed as shown below. On the first startup, you will be prompted to select the free version or the commercial version. Select the free version here.
2 Using the Ubuntu Image
2.1 Importing the Ubuntu Image
We have built a complete Ubuntu image, which is available at the link below:
Link:
The steps to download “EASY-EAI-Develop” and open it with VMware Player are as follows.
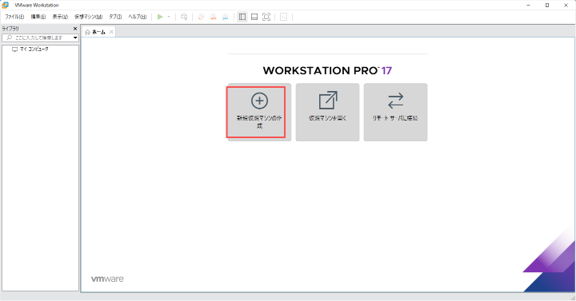
Click Create a New Virtual Machine.
Importing the Ubuntu Image
Select as shown below and click Next.
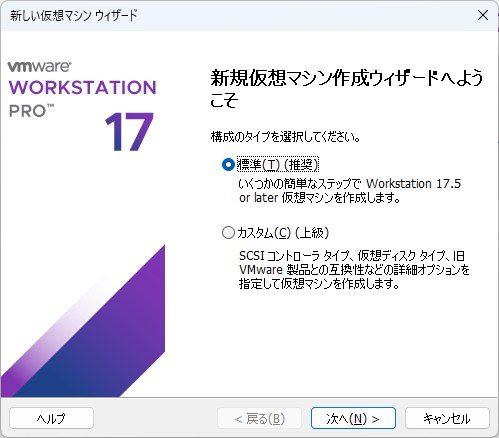
Importing the Ubuntu Image
Select the downloaded Ubuntu ISO file and click Next.
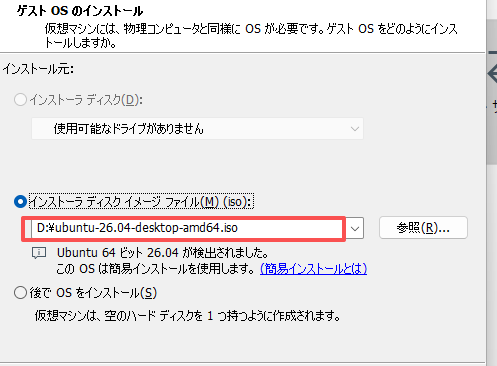
Importing the Ubuntu Image
Set the full name, user name, and password, then click Next.
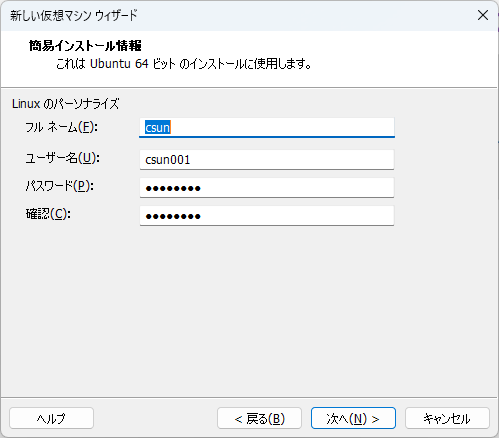
Importing the Ubuntu Image
Set the installation location and click Next.
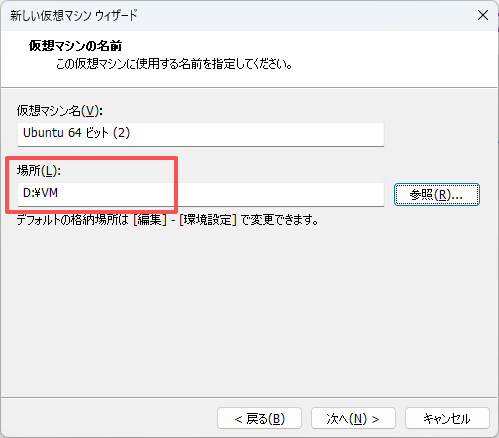
Importing the Ubuntu Image
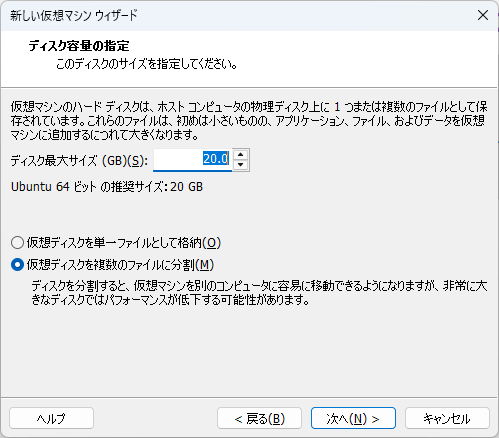
Importing the Ubuntu Image
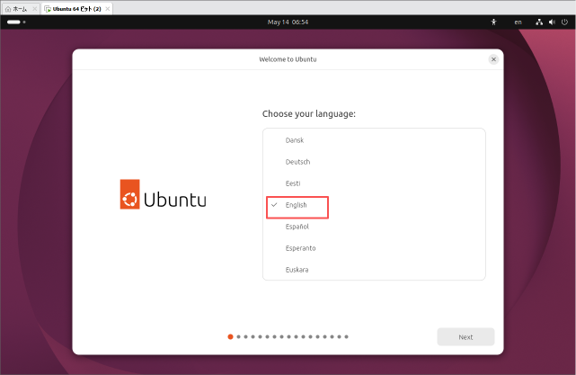
Importing the Ubuntu Image
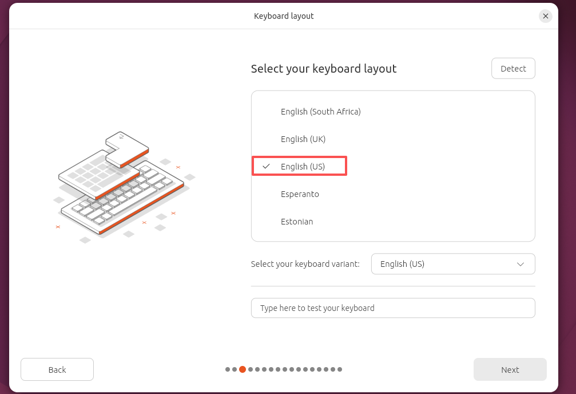
Importing the Ubuntu Image
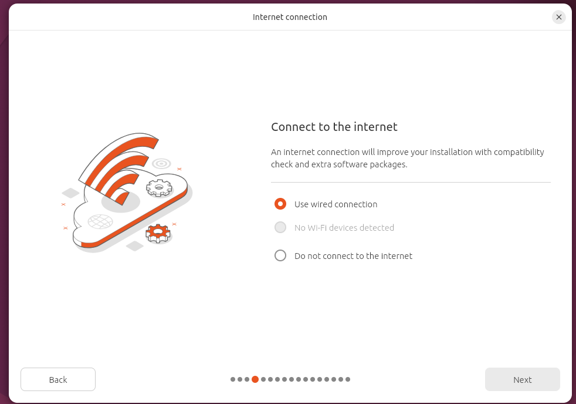
Importing the Ubuntu Image
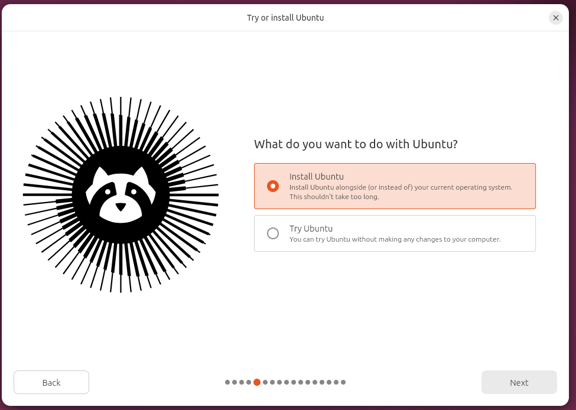
Importing the Ubuntu Image
Keep all other settings at their defaults, set the user name, name, and password, then click Next.
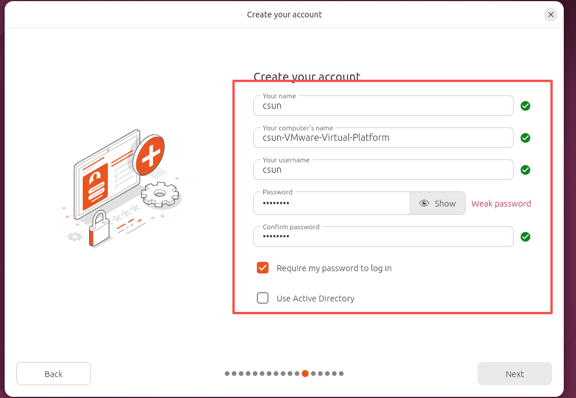
Importing the Ubuntu Image
Finally, click Restart.
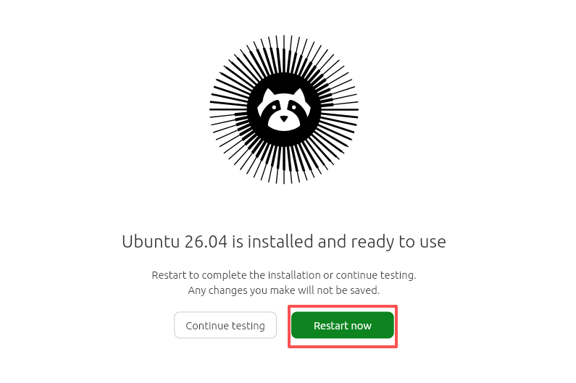
Importing the Ubuntu Image
2.2 Starting the Ubuntu Virtual Machine
Click “Play virtual machine” to enter the Ubuntu virtual machine.
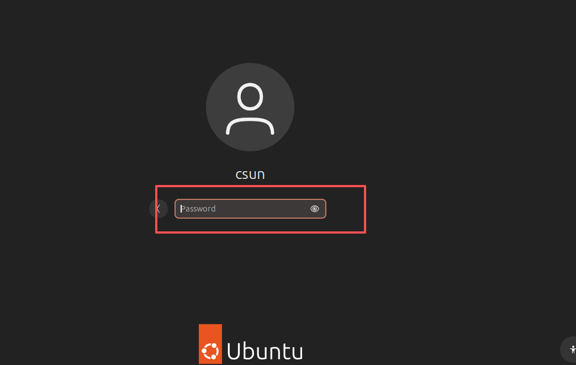
Starting the Ubuntu Virtual Machine
3 Installing the USB Driver
3.1 Introduction
Before using the chip’s ADB interface, you need to install the specified USB driver.
3.2 Downloading the Driver Package
https://dl.dragonwake.com/download/rv1126b/embedded/USB-Device-Driver/DriverAssitant_v5.13.zip
3.3 Installing the USB Driver
Open “DriverInstall.exe” and click Install Driver.
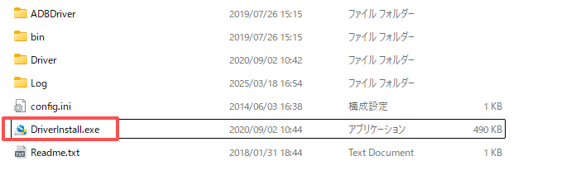
Installing the USB Driver
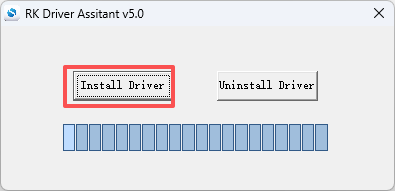
Installing the USB Driver
4 Checking the Result
4.1 Wiring Instructions
On the EASY EAI nano-TB, the ADB interface and USB 2.0 interface are physically connected on the circuit, so other devices cannot be connected when USB 2.0 is connected.
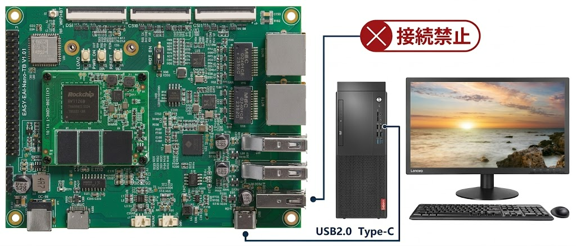
Wiring Instructions
Note:
We recommend using our standard accessory USB 2.0 to Type-C cable, which supports communication and provides stable signal quality.
A Type-C to Type-C cable cannot be used because the internal pin assignment (wiring) does not match.
We recommend connecting the USB 2.0 to Type-C cable directly to the computer, without going through a USB hub or extension cable. If you are using a desktop computer, connect it to a USB port on the rear of the main unit whenever possible.
4.2 Windows Environment:
If the USB device is not recognized correctly by the system, carefully check the following points:
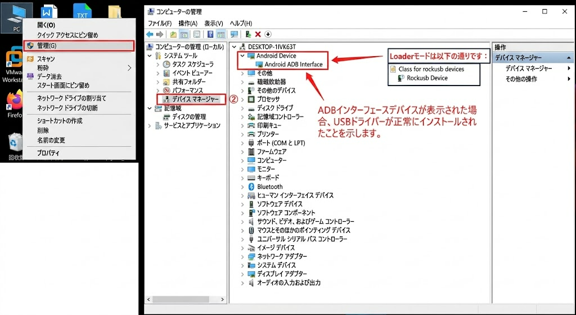
Windows Environment:
Carefully check the notes in [2.1 Connection Instructions].
Make sure that any cables or devices connected to the USB 2.0 port on the development board have been removed.
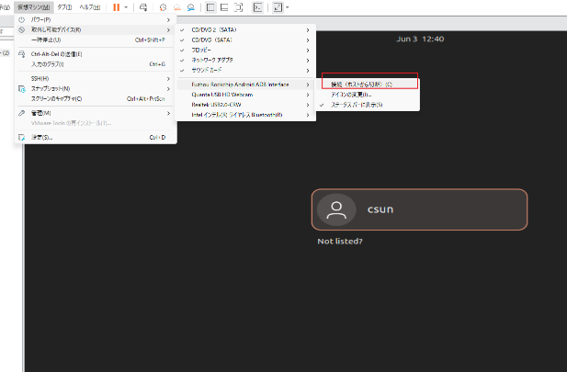
If you are using a virtual machine, check whether the ADB device is occupied (connected) by the virtual machine side. Refer to the explanation below.
4.3 Virtual Machine:
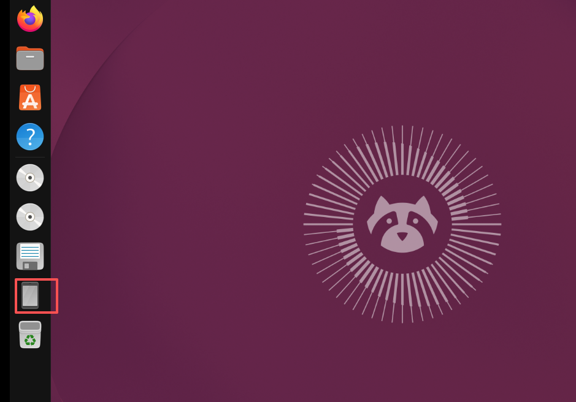
When the connection is successful, as shown below, the USB interface device will be highlighted in the icon on the left side of the virtual machine screen.
Virtual Machine:
Virtual Machine: