RKNN Model Conversion Tutorial Example
1. Convert to an RKNN Model
This document describes the evaluation and execution of models with the .rknn extension. Common trained models such as TensorFlow, TensorFlow Lite, Caffe, Darknet, ONNX, and PyTorch models can be converted to RKNN models by using RKNN-Toolkit2. Models trained with other frameworks can also be converted to ONNX format first and then converted to RKNN.
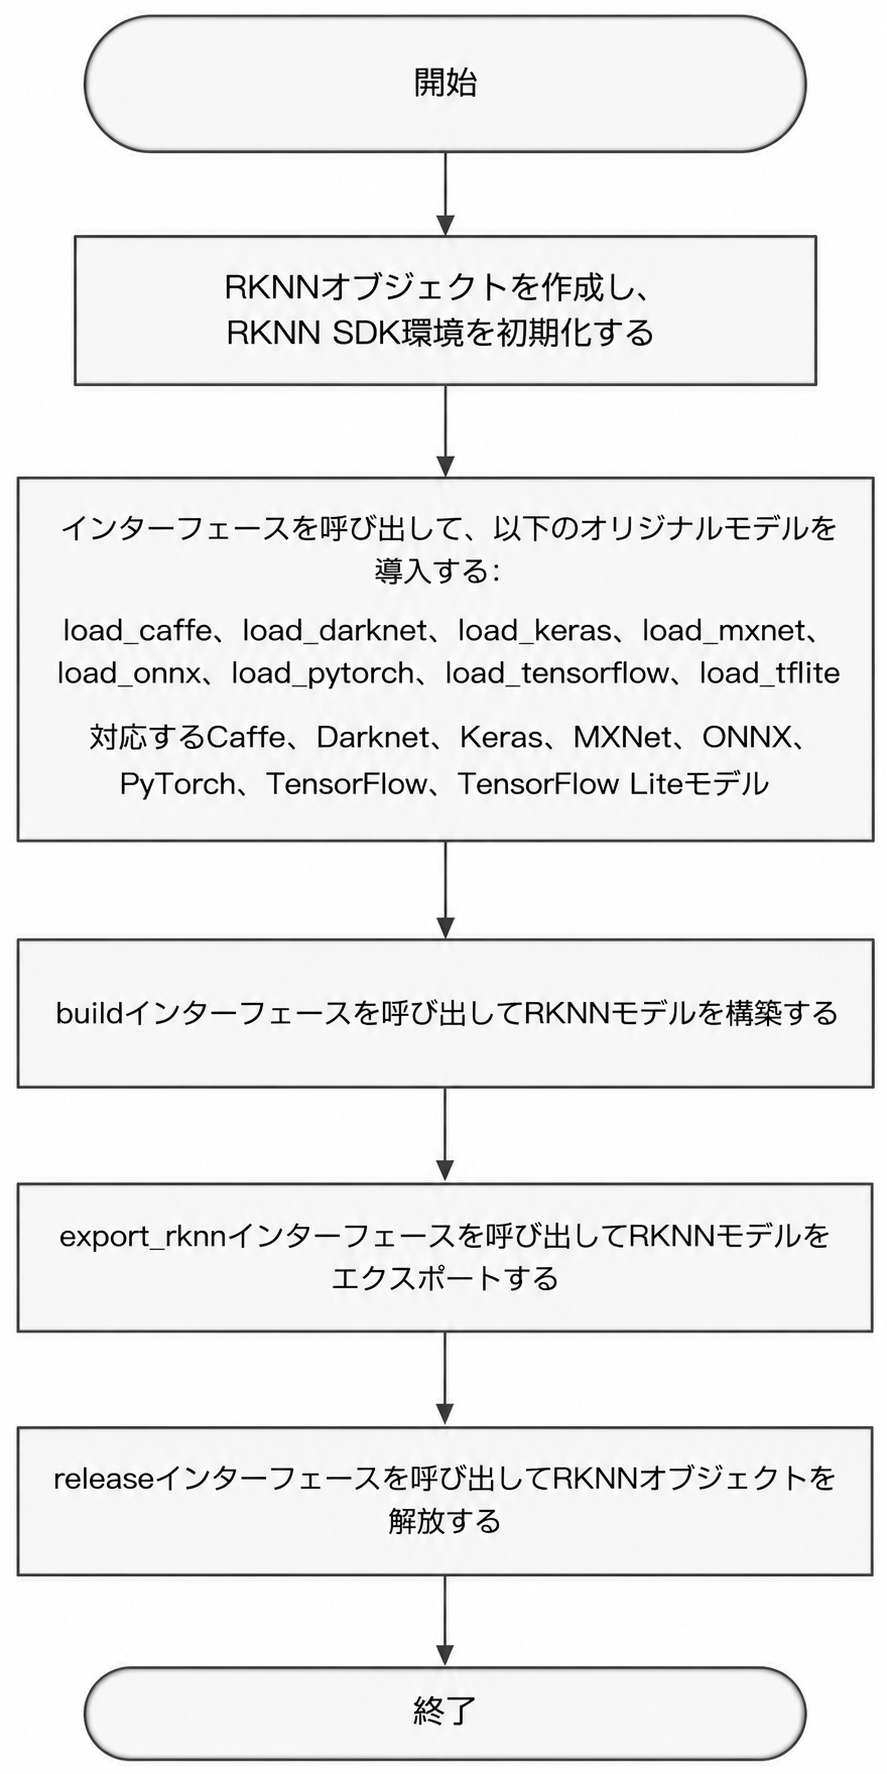
The conversion process consists of creating an RKNN object, initializing the SDK environment, loading the model through various load_* interfaces, building the RKNN model with build, exporting the model with export_rknn, and finally releasing resources with release.
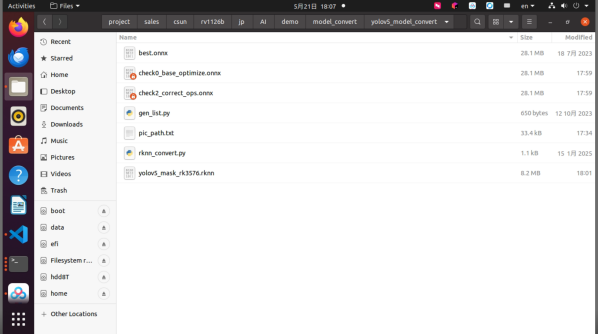
2. Download the Model Conversion Demo
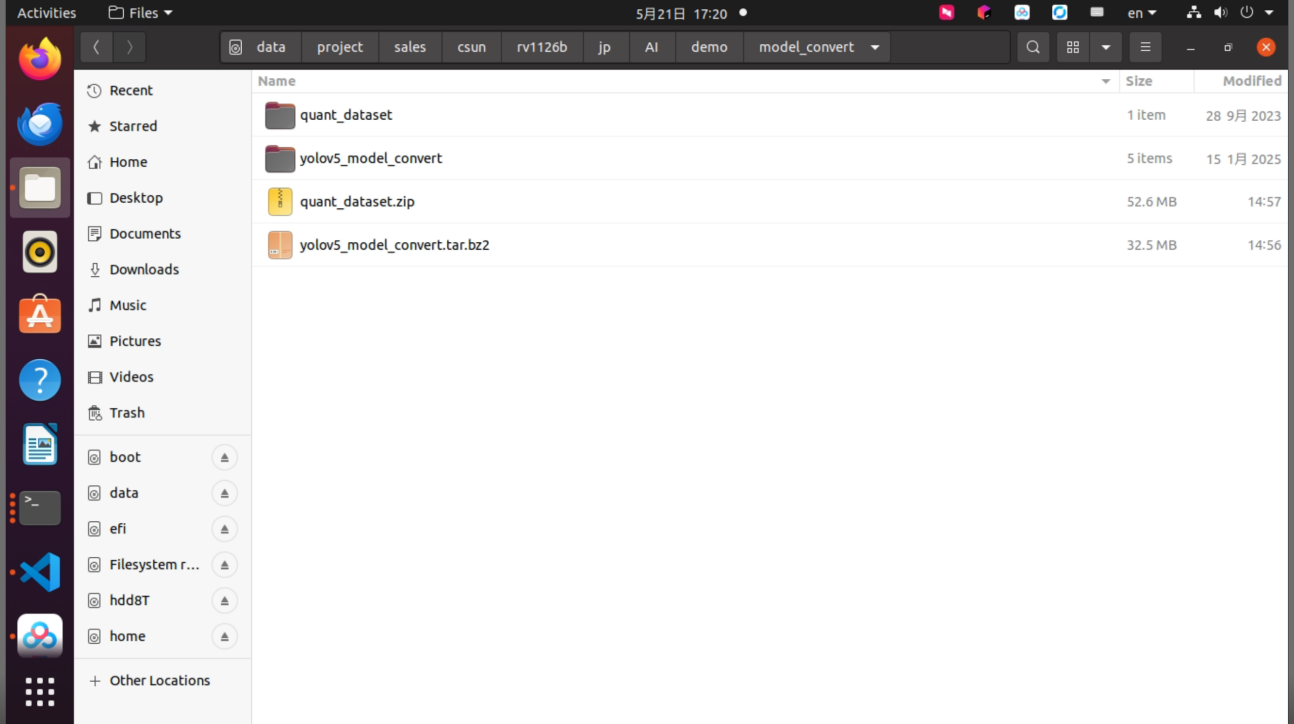
Download the YOLOv5 model conversion demo and the dataset used for quantization, and extract them in the Ubuntu environment. The demo includes yolov5_model_convert, which contains the conversion script, and quant_dataset, which contains quantization images.
yolov5_model_convert download link:
https://dl.dragonwake.com/download/rv1126b/AI/demo/model_convert/yolov5_model_convert.tar.bz2quant_dataset download link:
https://dl.dragonwake.com/download/rv1126b/AI/demo/model_convert/quant_dataset.zip
3. Enter the Model Conversion Tool Docker Environment
Run the following command to mount the working directory to /test inside the Docker container. /dev/bus/usb:/dev/bus/usb is used to pass USB devices to the container.
docker run -t -i --privileged -v /dev/bus/usb:/dev/bus/usb -v /data/project/sales/csun/rv1126b/jp/AI/demo/model_convert:/test rknn-toolkit2:2.3.2-cp38 /bin/bashThe following image shows the state after the command is executed successfully.
Note: Change the path
/data/project/sales/csun/rv1126b/jp/AI/demo/model_convertaccording to your actual Ubuntu host environment.
4. Model Conversion Operation Description
The model conversion test demo consists of yolov5_model_convert and quant_dataset. yolov5_model_convert contains the conversion script, while quant_dataset contains the image data used for quantization.
Extract the compressed files.
unzip quant_dataset.ziptar -jxvf yolov5_model_convert.tar.bz2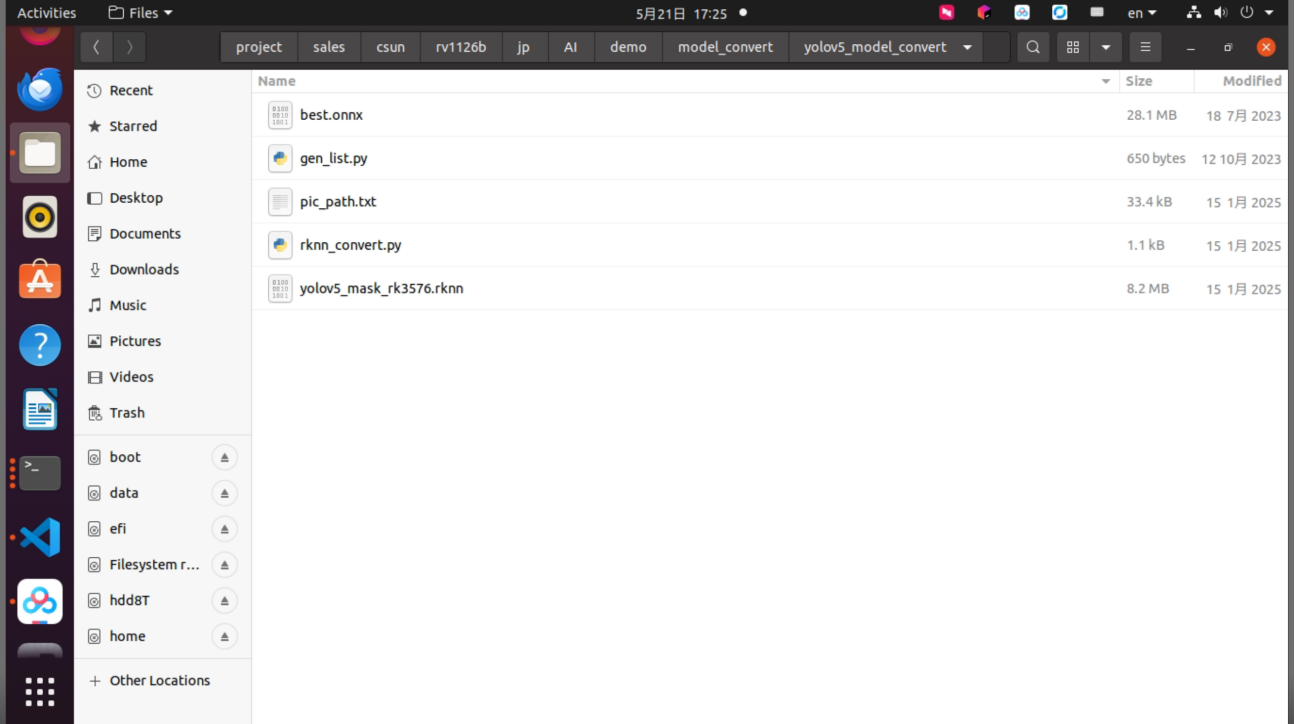
4.1 Model Conversion Demo Directory Structure
In the working directory, confirm that the conversion script and quantization dataset are placed correctly.

The yolov5_model_convert folder mainly contains the following files.
| File | Description |
|---|---|
best.onnx | Test model |
get_list.py | Script for generating the quantization image list |
rknn_convert.py | Model conversion script |
4.2 Generate the Quantization Image List
In the Docker environment, move to the model conversion working directory and run gen_list.py to generate the quantization image list.
cd /test/yolov5_model_convertpython gen_list.pyAfter running gen_list.py, the quantization image list is generated.
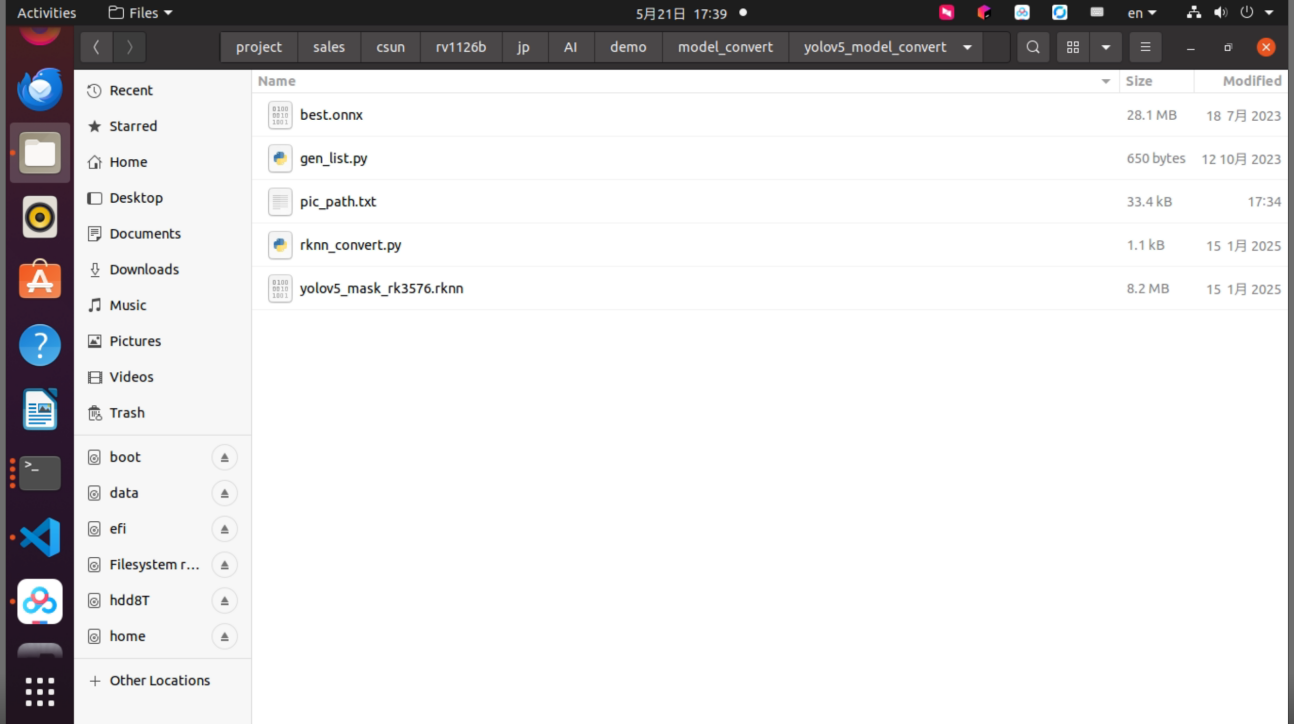
The generated quantization image list is shown below.
4.3 Convert the ONNX Model to an RKNN Model
Run the conversion script to convert the YOLOv5 model in ONNX format to RKNN format. During conversion, specify the quantization dataset and generate the RKNN model according to the target platform and quantization settings.
The rknn_convert.py script performs int8 quantization by default. The script code is as follows.
import osimport urllibimport tracebackimport timeimport sysimport numpy as npimport cv2from rknn.api import RKNN
ONNX_MODEL = 'best.onnx'RKNN_MODEL = './yolov5_mask_rk3576.rknn'DATASET = './pic_path.txt'
QUANTIZE_ON = True

if __name__ == '__main__':
    # Create RKNN object    rknn = RKNN(verbose=True)
    if not os.path.exists(ONNX_MODEL):        print('model not exist')        exit(-1)
    # pre-process config    print('--> Config model')    rknn.config(mean_values=[[0, 0, 0]],                std_values=[[255, 255, 255]],                target_platform='rk3576')    print('done')
    # Load ONNX model    print('--> Loading model')    ret = rknn.load_onnx(model=ONNX_MODEL)    if ret != 0:        print('Load yolov5 failed!')        exit(ret)    print('done')
    # Build model    print('--> Building model')    ret = rknn.build(do_quantization=QUANTIZE_ON, dataset=DATASET)    if ret != 0:        print('Build yolov5 failed!')        exit(ret)    print('done')
    # Export RKNN model    print('--> Export RKNN model')    ret = rknn.export_rknn(RKNN_MODEL)    if ret != 0:        print('Export yolov5rknn failed!')        exit(ret)    print('done')
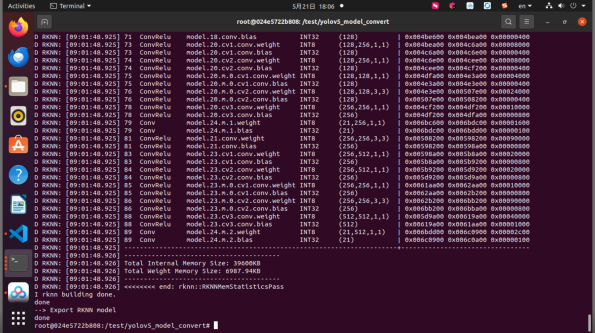
Place the ONNX model best.onnx in the yolov5_model_convert directory, and run the rknn_convert.py script to perform model conversion.
python rknn_convert.pyThe generated model is shown below. This model can run in both the RKNN environment and the board environment.