AI Model Deployment Guide
1. Model Deployment Overview
This document describes how to deploy a YOLOv5 model to an RK1126B board and run a demo program on the board. This model is a simply trained sample model and does not guarantee actual detection accuracy.
2. Preparation
Prepare the board, connection cables, network connection, and the PC-side compilation environment.
Use a tool such as MobaXterm to operate the board through SSH remote login or serial debugging.
2.1 Hardware Preparation
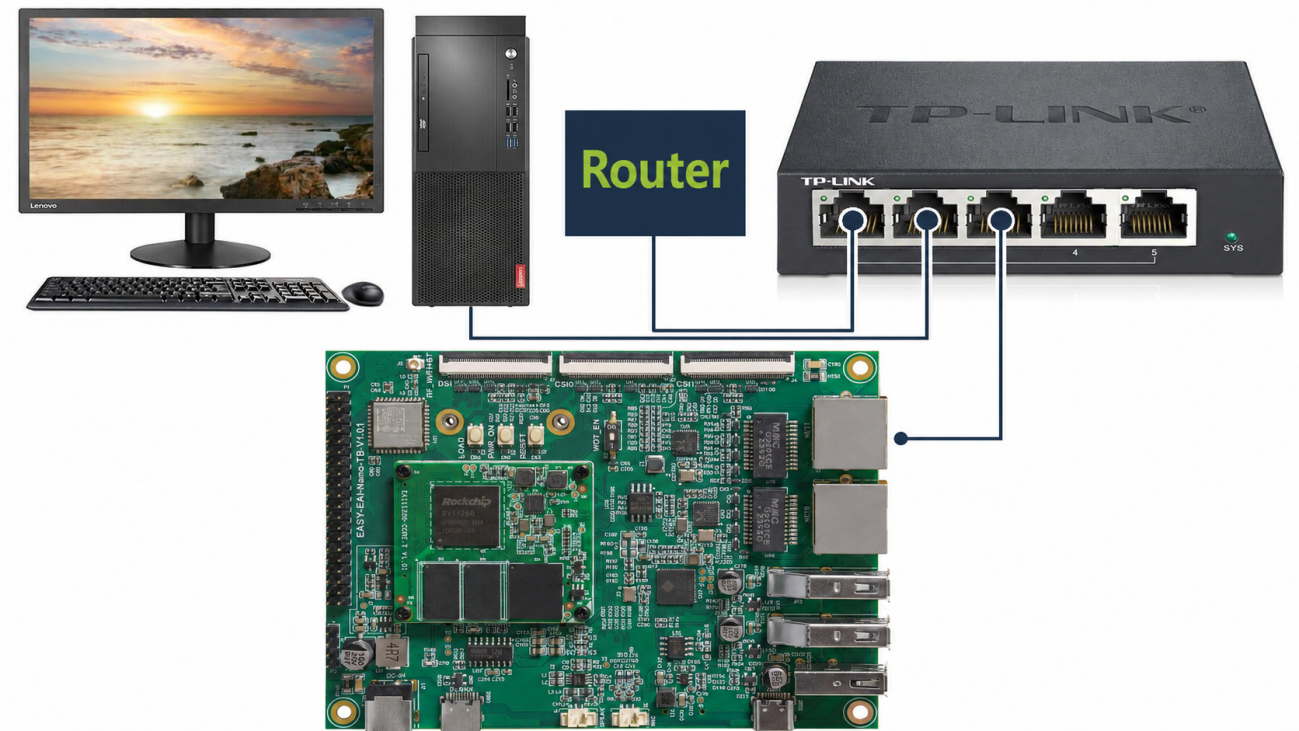
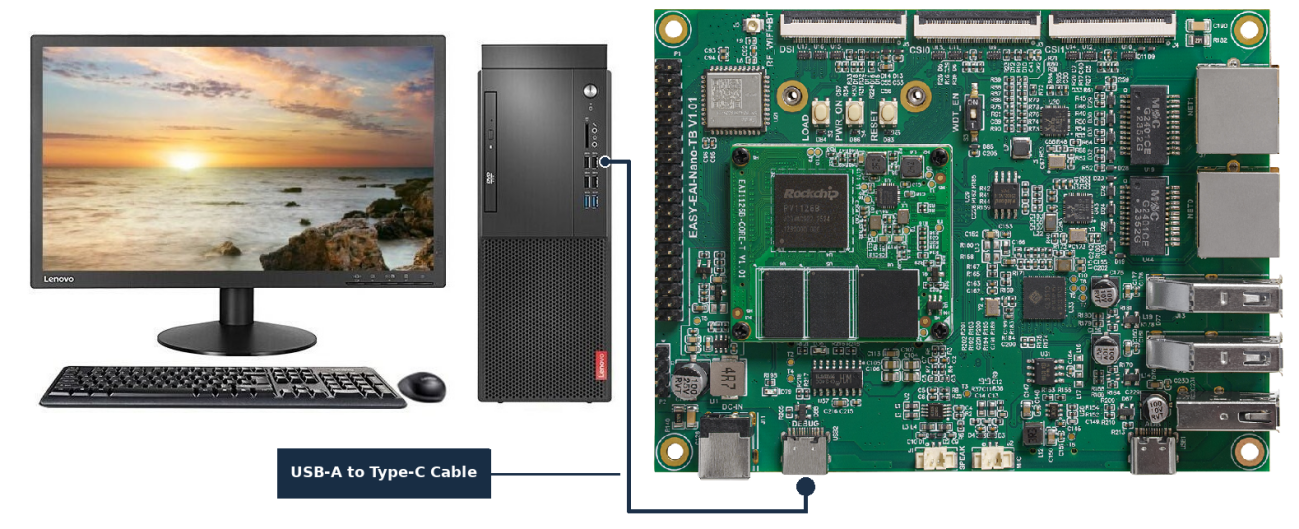
Prepare the RV1126B board, a Type-C cable, and a LAN cable. Connect the Gigabit Ethernet port to a router or switch, and connect the serial interface if necessary.
Network connection:
Serial connection:
2.2 Development Environment Preparation
When performing this procedure for the first time, set up the RV1126B compilation environment according to the Getting Started Guide. In the PC-side Ubuntu environment, run the run script to enter the compilation environment.
cd ~/develop_environment./run.sh 2204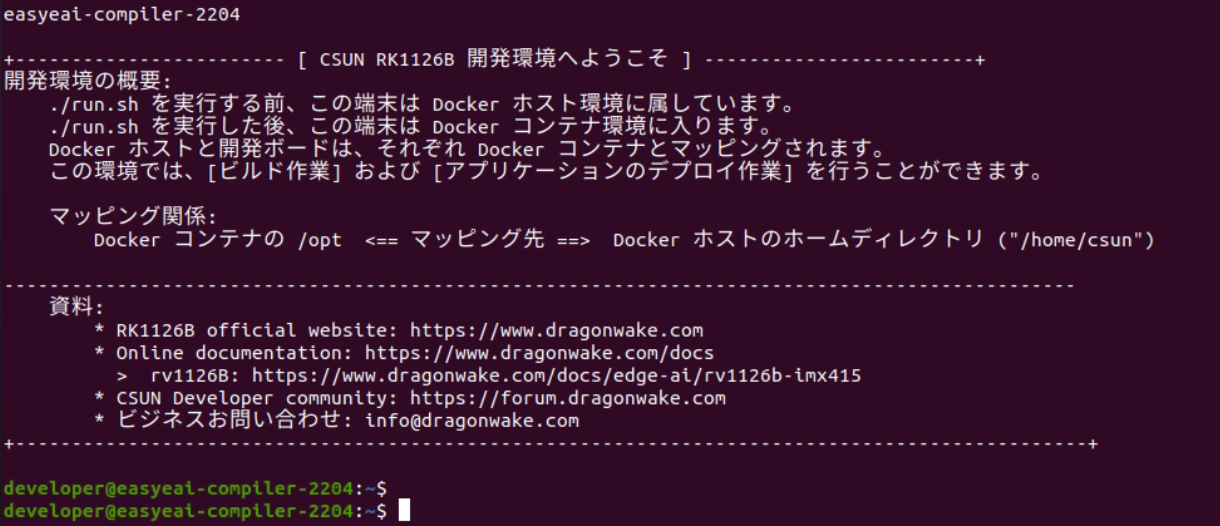
When connecting to the board via wired LAN, confirm the board IP address. This manual requires the program to be executed on the board.
Board IP address: 192.168.11.85load_rootfs 192.168.11.85developer@easyeai-compiler-2204:/opt/linuxshare/work/rv1126b/jp/AI/demo/yolov5_detect_C_demo$ ls /mntbin boot dev etc freq_set_status home lib lost+found media mnt oem opt proc root run sbin srv sys tmp userdata usr varIf the board is not connected, mount the rootfs.img used for writing.
Firmware download link for writing:
After extraction, the image file rockdev/rootfs.img is available.
developer@easyeai-compiler-2204:/opt/linuxshare/work/rv1126b/jp/embedded/images/CSUN-RV1126B_gstreamer-Ubuntu22.04-firmware_20260110/rockdev$ load_rootfs rootfs.img3. Source Code Compilation
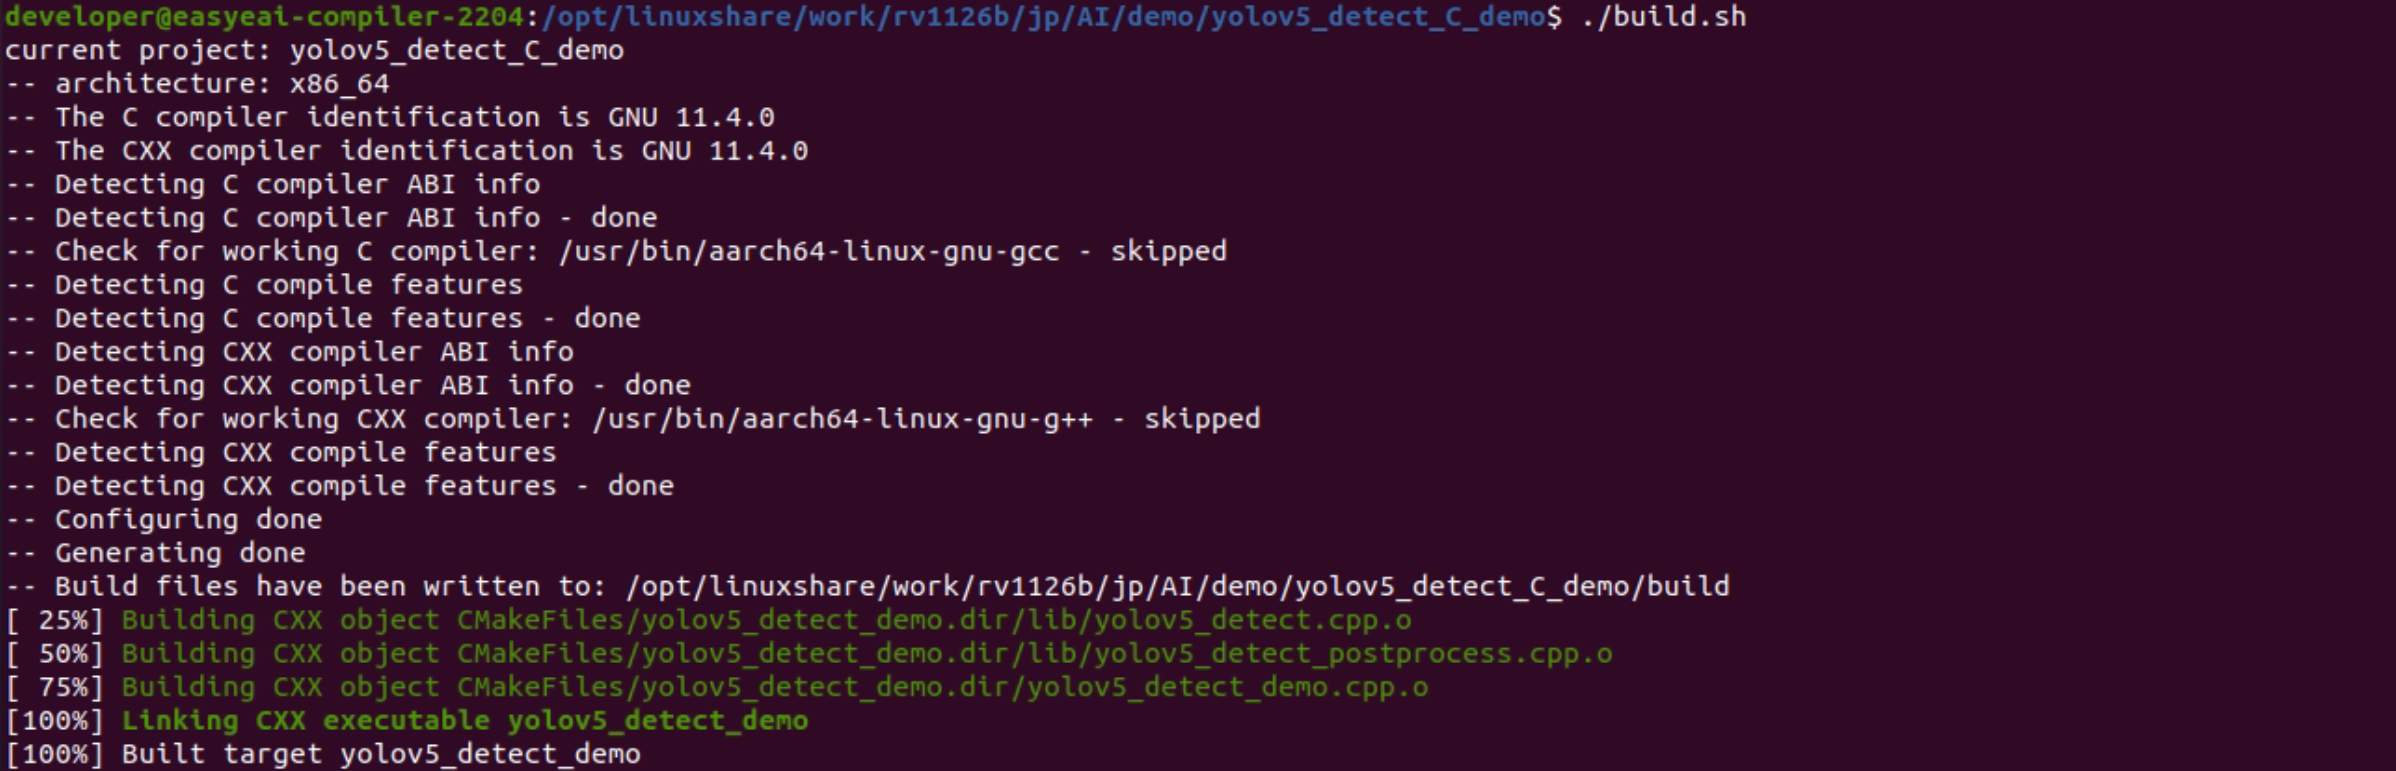
Download the YOLOv5 C Demo sample file, move it to the Ubuntu environment, and extract it. After extraction, enter the corresponding directory in the RK1126B compilation environment and run the build script.
YOLOv5 demo download link:
https://dl.dragonwake.com/download/rv1126b/AI/demo/yolov5_detect_C_demo.tar.bz2
cd /opt/linuxshare/work/rv1126b/jp/AI/demotar -xvf yolov5_detect_C_demo.tar.bz2cd yolov5_detect_C_demo./build.shcp yolov5_detect_demo_release/ /mnt/userdata/ -rf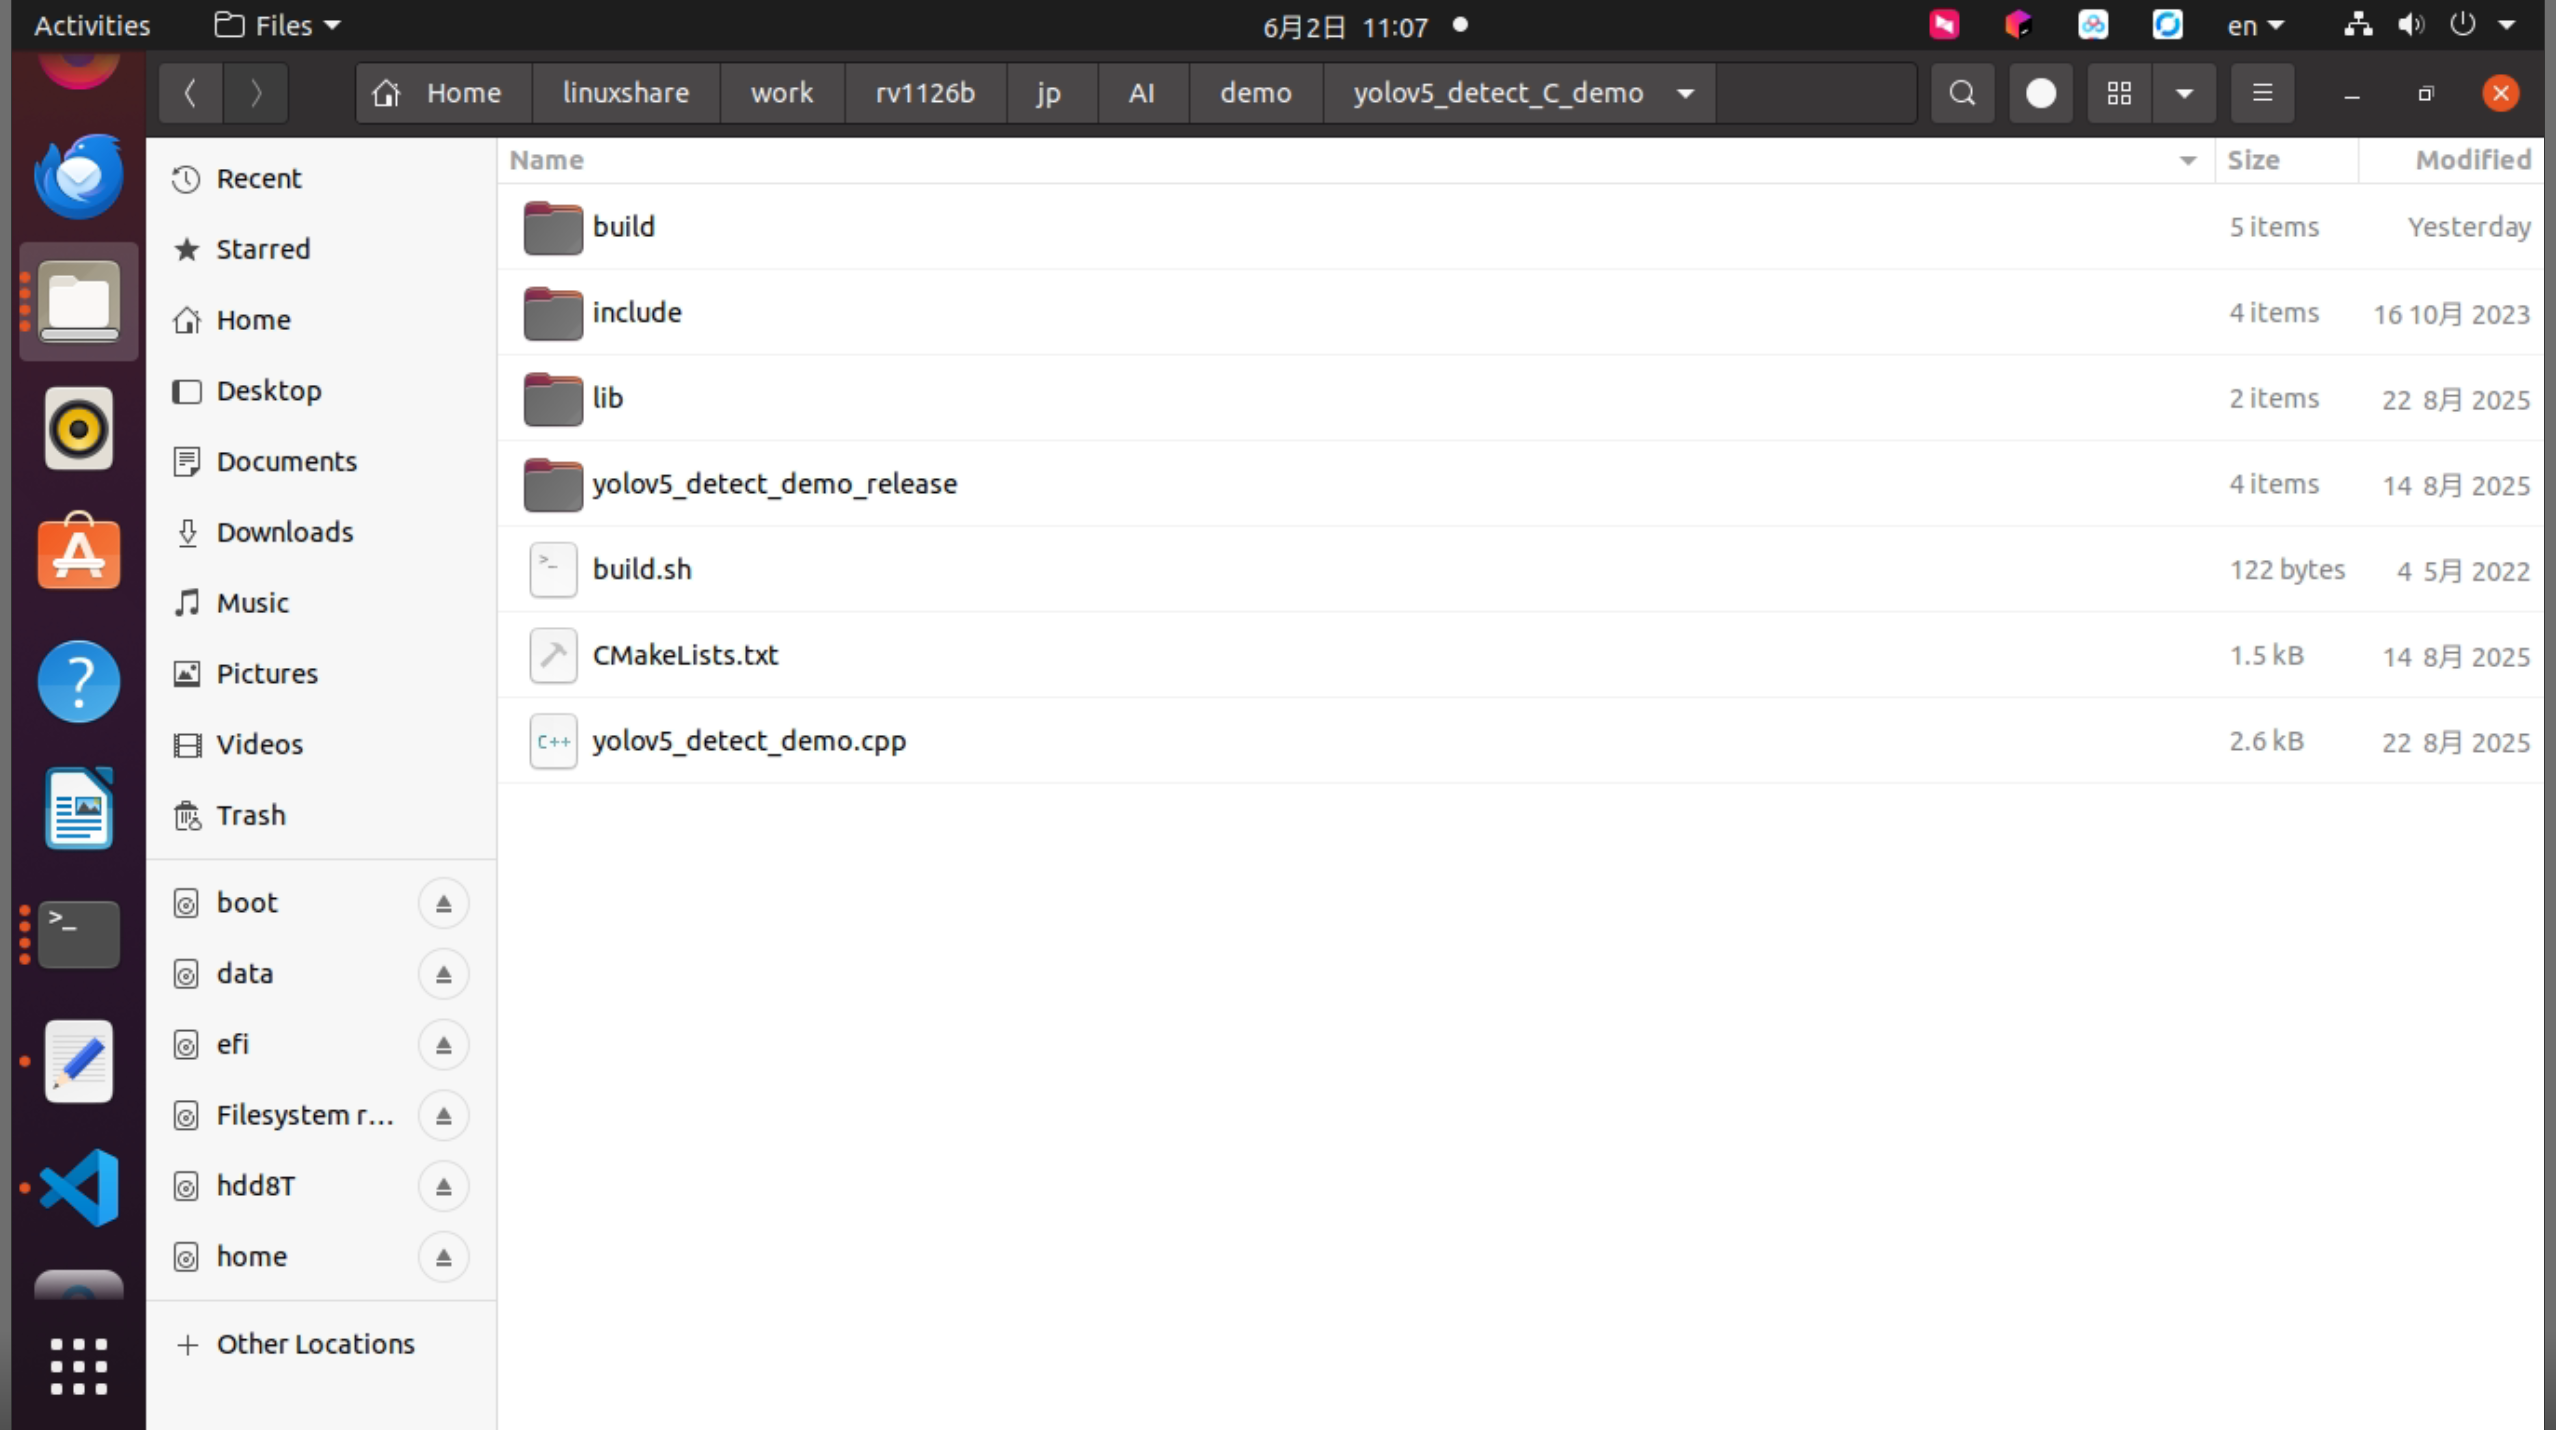
4. Run the YOLOv5 Demo on the Board
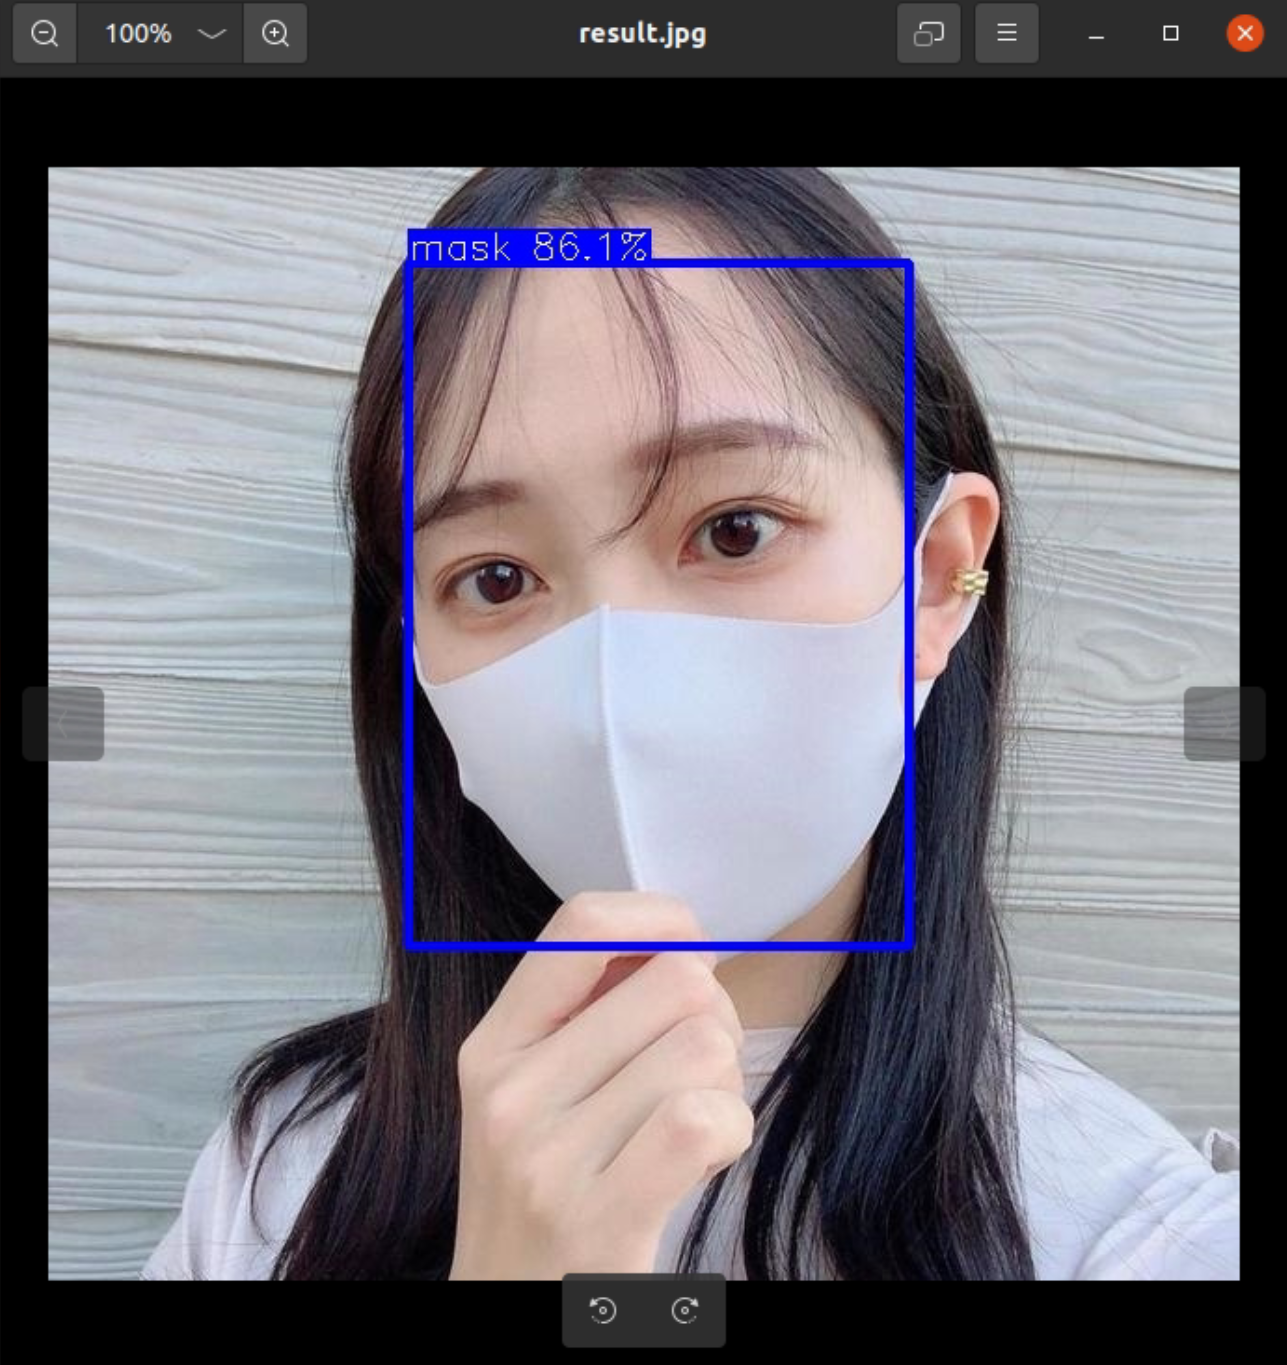
Log in to the development board through serial or SSH, and move to the directory where the demo program is located. Grant execution permission and then run the demo program. After execution, the detection result image result.jpg is generated.
cd /userdata/yolov5_detect_demo_release/chmod 777 yolov5_detect_demosudo ./yolov5_detect_demoThe following figure shows the execution result after logging in to the board via SSH using MobaXterm. The algorithm execution time is 49 ms.

Check the test result image in the RV1126B Docker development environment on PC Ubuntu.
- Copy the test image from the board back to the Docker development environment.
cp /mnt/userdata/yolov5_detect_demo_release/result.jpg .
- The test result is shown below.